The Last Sprite - Level Design
- Will N Rogers
- Mar 7, 2023
- 6 min read
Updated: Jun 13, 2023
By the time I began designing The Last Sprite's world and platforming areas, I'd already spent weeks working on player movement mechanics. I'd done this inside a test level, alongside working on objective and puzzle mechanics. From this experience, I had a good handle on movement speed, acceleration, jump height and distance, and the core gameplay loop.
I defined level design goals, determining what I wanted the player to feel and do.
The player should FEEL:
The joy of movement
A sense of wonder from discovery
They're having fun
Challenged
Satisfaction at completing challenges
The player should DO:
Explore successfully
Learn gameplay skills
Put learned skills into practice
Complete objectives
Collect gems
With all of this in mind, I began creating 2D-layouts for The Last Sprite's world. I determined how many islands to include, how big they'd be, how many machines (objectives) there would be and where they'd be positioned. I'd later drill deeper into the design of each machine zone (platforming puzzles), but to begin with I needed an overarching layout.
Tutorial Island - Overhead 2D Designs

The image above shows the initial layout of the tutorial island. With the classic "teach then test" mantra running on a loop inside my mind, I designed a simple, linear starting island that would tutorialise basic platforming and simple elemental puzzles. The player would spawn in an open area allowing them to get to grips with rolling through the world, before being tasked with jumping up several pillars to reach a raised section of ruins. Once there, they'd need to collect a Fire Element and take it to an Elemental Door to progress to the next area. In the north-east, a set of broken pillars and bridge sections provides a grappling tutorial and allows the player to reach the next island.
With this overview complete, I dug deeper into the design of the jumping tutorial, creating a more detailed 2D version. Below is a look at a top-down 2D layout, and a top-down in-editor look at that section of the game. Objects in yellow denote those the player must navigate on top of to complete the platforming challenge. Not shown in this early 2D drawing are the gems that sit atop pillars. These gems were a relatively late addition to the game, and are collectibles used to help guide the player through the world, and to give clues about how to complete platforming sections.
Main Island - From 2D Concept to 3D Whitebox
I followed the same process with the main island, which is significantly larger and is home to the majority of The Last Sprite's objectives. Below you can see an overarching 2D world layout, a 2D topdown view of a platforming section, and the same section in 3D development. Pink Ms denote the machines the player must destroy to progress the main objective, and each machine is surrounded by ruins that present the player with a platforming or puzzle challenge, or both. I spaced machines throughout the world to give the game varied pacing, to give the player the opportunity to explore, and get use out of their fastest movement ability (Super Roll). With the exception of the final machine (north-east), these machines can be tackled in any order.
Puzzles across the second island build upon knowledge the player picked up on the Tutorial Island. Platforming sections grow to include grappling, jumping, moving platforms, and desaturated areas that sap the player's health while they're inside. Likewise, elemental puzzles grow in complexity to include jumping, grappling, and navigating sections of the world at speed. With each ruin the player visited, I intended to vary the challenge, with some focusing on accurate platforming, others on skilled grappling, and others on timing.
With 2D designs of both islands in-hand, I fully whiteboxed both islands. I made both islands fully playable in this state, making sure the game was fun to play ahead of doing meshing, lighting, narrative, and detail passes.
Landmarks
The inclusion of landmarks were essential for helping players find their way around. For the tutorial island, this was fairly straight forward. The path is somewhat linear, and whenever the player branches off the main path (for example, to collect the fire element required to open the first puzzle door), the island's main ruins are visible, helping the player know where they need to return to.
Things were more complex for the main island, which is considerably larger and more open, with objectives the player can tackle in any order.
I created several landmarks that could be seen from most positions on the map. Chief amongst these were the central ruins (home of one of the main objectives), and the fire pedestal at the top of the Eastern Hill. Similarly, the level's end goal is raised geographically above everything else in the level, making it a place players can easily identify and aspire to reach.

This fire pedestal temple can be seen across most of the map, helping players orient themselves.
I created memorable ruin designs for each puzzle area, helping players remember where they needed to return to if they needed to return to a specific objective or hunt down those last few gems. The main island's starting objective is exposed to the elements with no walls or roof. The Eastern objective takes place in a squat, square building with small entrances. The Central objective takes place inside a giant rectangular building with no windows. And the Western objective takes place in a crumbling ruin that's exposed on two sides. While some of these ruins can't be seen from afar, each design stands out as different in the player's memory.
Guiding Gems
To help players navigate through the emptier sections of the main island (areas populated mainly with foliage), I added trails of sparkling gems to guide them to distant objectives. Not only do these gems help players find their way around, they also provide a challenge:
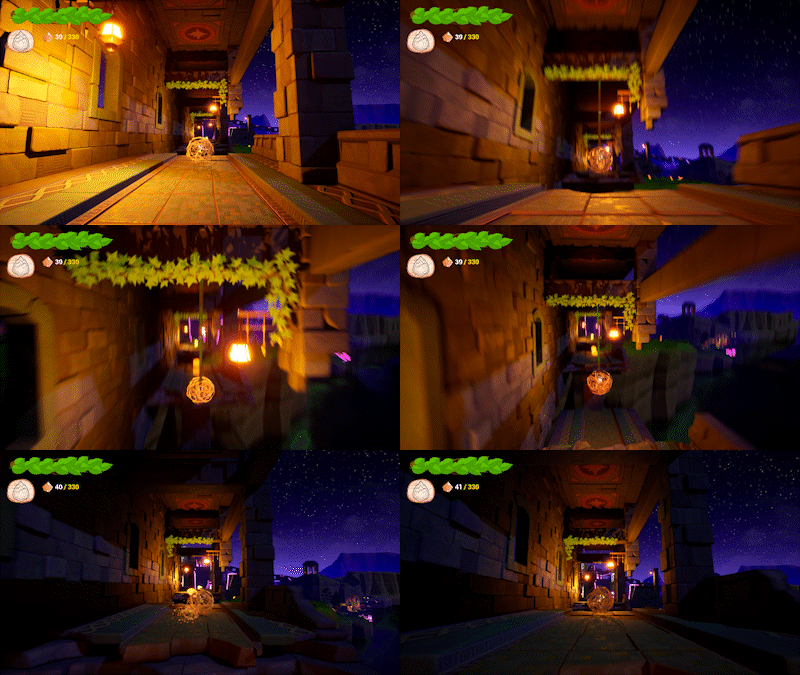
Each time the player collects a gem, they're rewarded with an audio chime. If they collect a gem within .5 seconds of their last gem collected, the audio chime rises in pitch. This incentivises use of the Super Roll ability to move quickly across the map, and challenges the player to collect as many gems as they can without the pitch of the audio chime dropping back to normal.

In addition, I placed gems to guide players through The Last Sprite's puzzles. These gems ensure players of all abilities can find their way through platforming sections, and subtly highlight puzzle solutions.
Gems come in three different values (worth 1, 5, and 10 points). The higher values are rarer, and are given to the player as rewards for completing platforming sections, and as reward for exploration. Some of the most valuable gems are hidden across the map, encouraging players to investigate every nook and cranny to seek them out.
Challenge Difficulty
Each puzzle was designed to challenge the player to master certain abilities. Easier puzzles task players with standard platforming or grappling, with more complex puzzles requiring a combination of abilities. Of the main island puzzles:
- Tutorial ruins: Focuses on simple platforming, then a basic elemental puzzle.
- Starting ruins: Focuses on simple jumping and easy moving platforms.
- Eastern ruins: Focuses on grappling initially, then on navigating a maze against the clock.
- Western ruins: Mixes grappling and platforming, then platforming against the clock.
- Central ruins: Mixes elemental puzzles with grappling, then grappling or platforming against the clock.
To help players of different abilities, I added shortcuts and additional checkpoints (see the sections below) to make some of the more challenging puzzles more forgiving.
Checkpoints
Since machines were spaced out across the main island, and because many platforming sections had lethal hazards (e.g. deep water and health-draining auras), it was important to implement a checkpoint system. This would shorten the player's reset time upon failing a platforming challenge, reducing the punishment and player frustration. During testing, players requested the addition of a few mid-area checkpoints after particularly tricky jumps. In response, I added new checkpoints in some areas and lowered the difficulty in others.
These checkpoints also connect to my level streaming solution. To improve The Last Sprite's performance, I carved the level into chunks that spawn/despawn depending on where the player currently is. Whenever the player respawns, the active checkpoint runs code to ensure that the area the player is about to spawn into has been fully loaded and all other areas have been unloaded.
Shortcuts
I added several shortcuts to sections of the main island. There were three types of these:
Lifts: Activated after a machine has been destroyed. They help the player quickly return to high-up areas without needing to re-do platforming sections. Minimise backtracking.
Doors: Opened after a machine has been destroyed, allowing the player to quickly return to an earlier area. Minimises backtracking.
Chains: Always present, but some are only accessible after the nearest machine has been destroyed. Provide the player with an additional choice for quickly traversing the world.
The addition of shortcut chains proved popular with playtesters. Not only did adding chains mean that players could quickly get from area to area, the chains themselves function as a simple, satisfying platforming puzzle, as the gaps between links are exactly the right size to jump over, and players can chain together many jumps in quick succession.

Tutorialisation
The Last Sprite keeps the player learning throughout their time with it. To help them do this, I placed Tutorial Rings throughout the map, with more of them placed on the tutorial island than on the main island. These tutorial rings help players understand their abilities and when to use them.

The Finished Article
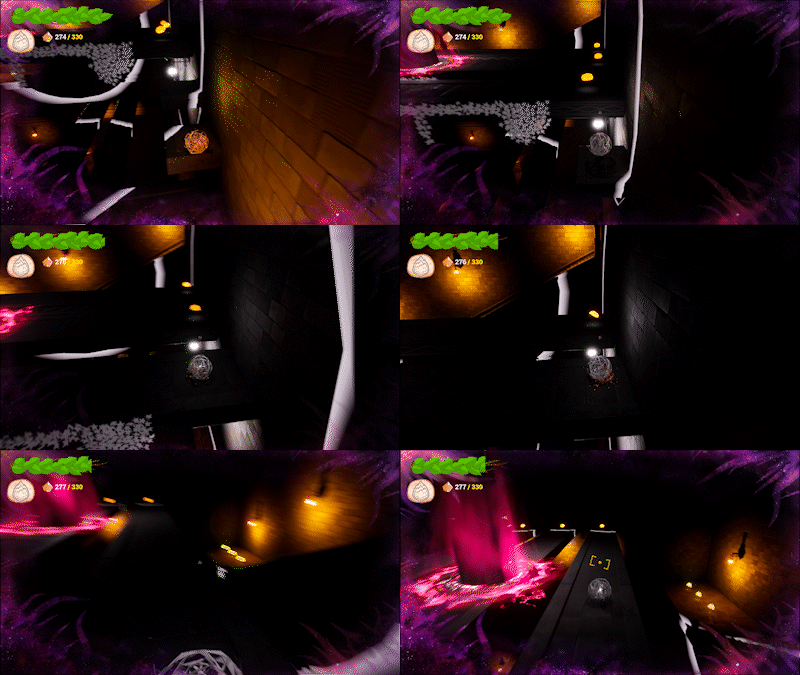
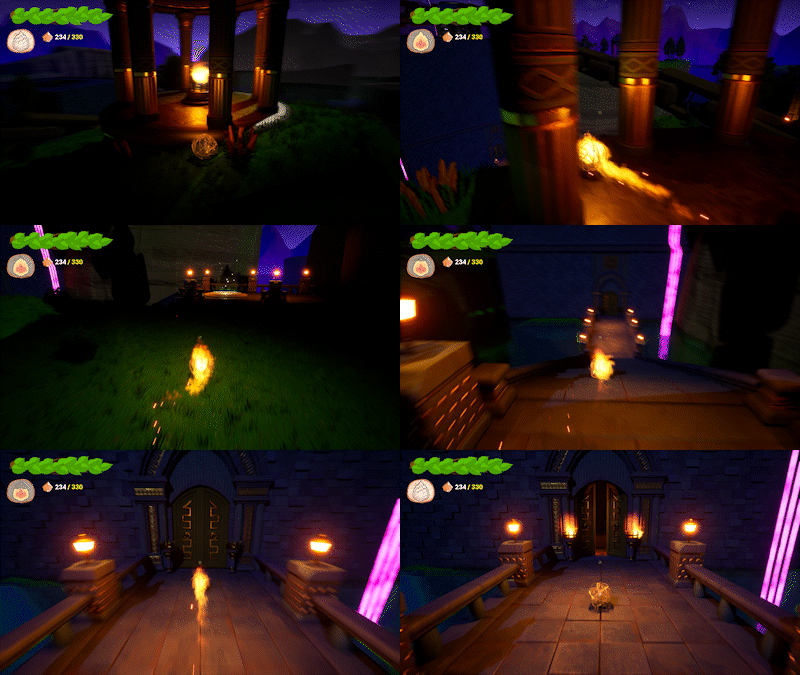
Below is a full playthrough of the release version of The Last Sprite, along with a slider with screenshots from both islands.







Comments